How to Change a Router Bit?
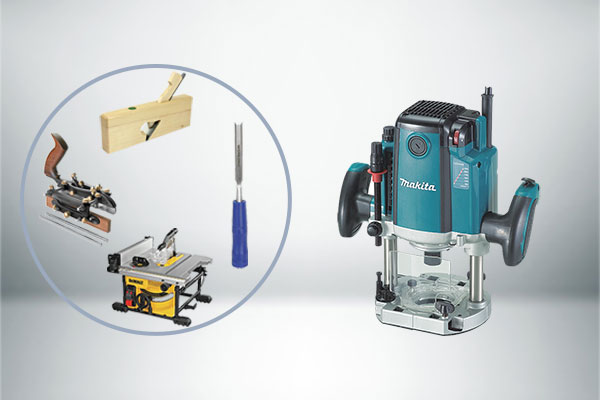
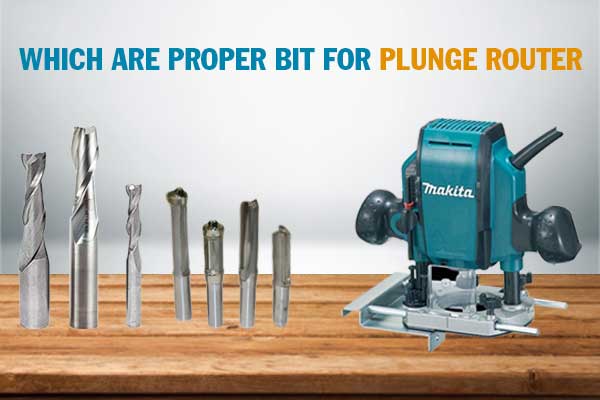
Your routers will always require router bits, or the router will be toothless. There are different categories of these, including straight, rabbeting, flush-trim, chamfer, edge-forming, and specialized router bits. Furthermore, you can also find router bit shanks and cutting edges.
One of the processes you will have to go through is knowing how to change a router bit. The details can be complicated for beginners, so here is a step-by-step guide on how to do it. This installation is for both portable routers and the router table.
How to Change a Router Bit?
Knowing the steps will get you away from all the pondering and figuring out once you are on the technical side of things. Safety is important to keep your routers working at their best.
Two Wrench Router
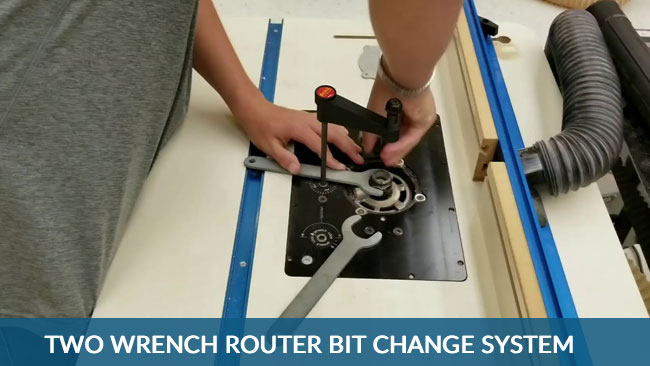
- Make sure the router is unplugged before the entire changing process. Also, you will need to check if the on-and-off switch of the router is off.
- Portable routers have other types, the one that utilizes one wrench and the other that requires two wrenches for the procedure. With the two wrench system, you initially have to remove the base. Doing this reveals its collet. The collet is responsible for holding the bit with the router.
- Then, ensure that your collet is loose. This is important because, in order to insert the bit, it should be in this setup. Avoid tightening the collet in such a way that it holds the bit fully seated.
When you do this, it may pull down on the bit. Having it fully seated, the collet may not securely attach to the bit.
- You will also notice bits on top of the shaft just in the area where it meets the cutter head. Use two wrenches to remove the old bit. Remember, one of the wrenches should attach on the router’s shaft, while the other goes on with your locking nut which attaches the router bit to its place.
- There are routers with a locking system that places the shaft securely. In these scenarios, you will need one wrench to finish the steps.
Then, put the first wrench on the shaft and the second with the locking nut. You must be able to turn this nut counter-clockwise before releasing it. This step lets the bit to pull out from the shaft.
- Once you pull the router away from your shaft, you will also need to remove the locking nut from the router.
- Look for the collet and slide this into your shaft, before installing the locking nut over the collet and your shaft.
- Then, slide the replaced router bit through the opening until the bit bottoms out. Be sure that you pull it up an eighth of an inch, letting the collet tighten around the router bit.
- Securely tighten your locking nut as well. Now, you are ready to work.
Single Wrench Router
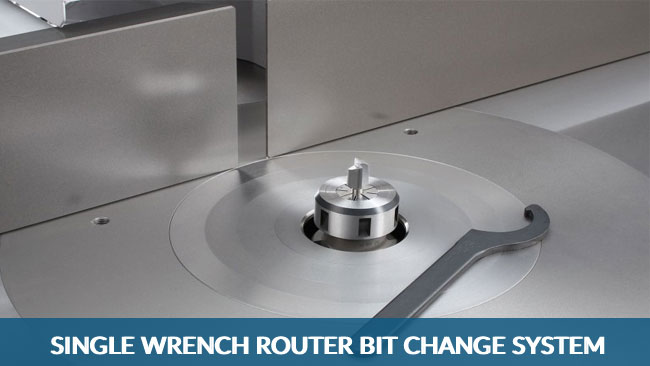
- These types of routers feature a spindle lock. To get started, lower your base plate entirely, so it engages this lock with the single wrench for the upper portion of the collet.
- Take the router bit to bury it, raise it back ⅛-inch, finger tighten, and use the wrench to complete the process.
- Make sure you are not overtightening — tone the tightening down by grabbing a snug and giving it a bump.
- To remove the router bit, simply repeat the process in reverse.
Router Table
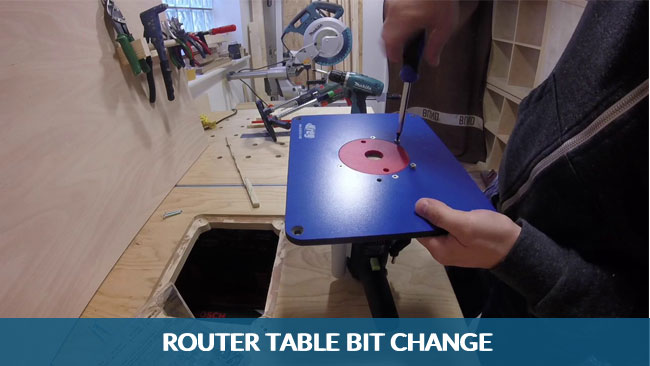
- To begin, crank up your router to its highest point. In this step, you will have to get the collet over the router table, so you can access the wrenches.
- Should you have routers without a router lift, simply remove the motor of the router from the base and then change the bit normally.
- Afterward, remove the insert plate. Then, you can insert the bit just like what you did with your portable router, bottom it out, and back this out at an eighth of an inch before tightening the collet.
- Once this is done, replace the insert and secure it in place.
- Lastly, crank the router back downward, and you can keep working.
Get Knowledge: Router Table Safety Precautions to Keep in Mind
Final Words
Woodworking will not be complete without the bit of your router. Learning these steps allows you to find out how to change a router bit by yourself without having to spend money on router specialists.