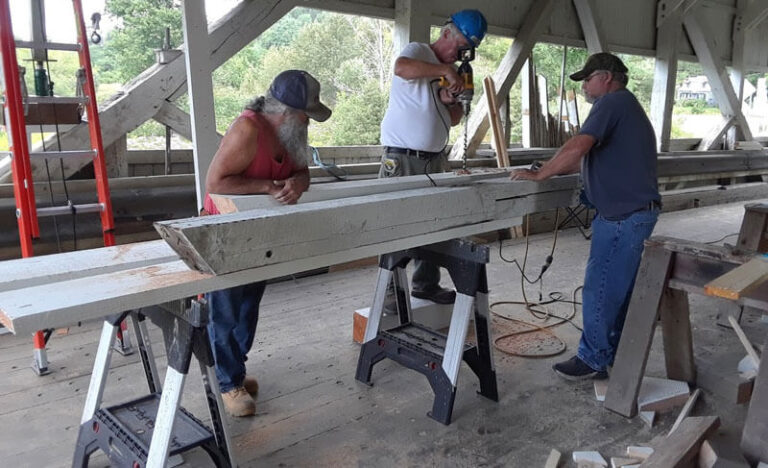
How to Clean Router Bits Efficiently?
Cleaning bits for your routers is a responsibility that every woodworker must never forget. With the right and consistent maintenance, you can save more on the costs, see these machines working efficiently, and have them last with you longer.
How to Clean Router Bits Efficiently?
There are several ways to clean these bits alongside various tools that will help you complete the process. Preparation is key. It is advisable to use thin paint to soak these bits, and brush them using a bristle brush.
However, many people tend to use commercial cleaning products, which may contain harmful petroleum distillates, denatured ethyl alcohol, and chlorinated solvents. Here’s a step-by-step guide.
Step 1: Take away the Resin

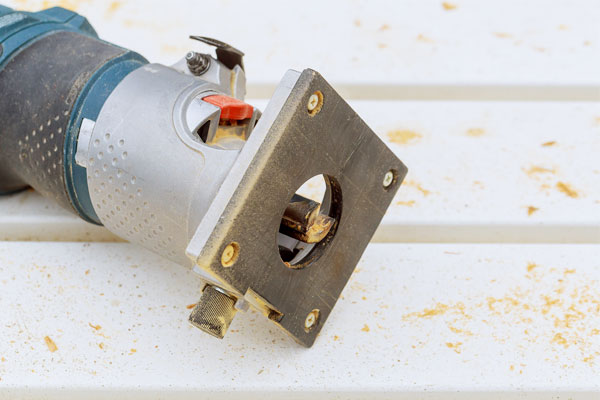
Several router bits may have gathered dust on the duration of its use. To remove these and get it ready for the next woodwork, you must use a resin remover to deal with the resin that has built up. Shops that sell woodworking products also have these cleaning tools on their shelves.
Since the resin hardens in time, failing to remove it will reduce the efficiency of the cutting. You may also use a toothbrush and alcohol to enhance cleaning power. Take it within the collet, spindle, and tool holder. There may also be a build-up on the outer taper of your collet.
Resin Remover:
Step 2: Check Nuts and Shanks for Burrs

When you neglect cleaning the shanks, it prevents the person from tightening the bit properly in the collet. This is the last thing you want to happen because it can damage your router greatly. To deal with this, you may use a brass brush, going through the insides of these nuts and the shanks.
List of Some Brass Brush:
- Forney 70490 Wire Scratch Brush
- Performance Tool W1148 Miniature Brush Set (3Pc)
- YiwerDer 9PCS Mini Brass Brushes Set
Step 3: Sharpen the Bit

Every cutting tool needs sharpening. You may use a honing file made with diamonds. However, keep this only on the flat surface of your router bit’s flute. Be consistent on the pressure to sharpen these well and across the entirety.
List of Diamond Hones:
- EZE-LAP L PAK Set SF/F/M Color Coded Diamond Hones
- DMT D2K 2.5-inch Dia-Sharp Diamond Mini-Hone Kit
- SE 6-Piece Flat Diamond Grit File Set
Step 4: Do Not Oil the Router Bits

Avoid oiling the router bits since these may cause rust to build-up. After these cleaning procedures, you just have to dry them well.
Step 5: Store Them Properly

Unless otherwise you have covering accessories, you may keep the router bits in their original packaging. Do not throw them in your drawer, and do not keep them loose inside the box. Perfecting this step will also help organize everything during inspection.
Step 6: Change the Bits Whenever Needed
From the second you notice damage or deterioration upon their cutting edge, immediately change them. There is no time to waste since you are saving these tools against degradation and decreased cut quality.
Step 7: Get a Coolant Ready When Routing
The coolant will prevent the build-up of heat, which comes from the friction of the router against your materials. Investing in coolants will help you save up on the costs further.
Final Words
Now that you’ve familiarised yourself with how to clean router bits, it is time that you perform these on your work. Implement these well and good while turning your attention to the details. Taking on the steps to improve and increase the router bit’s life is also crucial.
Remember, clean router bits will provide you with better cuts. Likewise, they also can last longer than unmaintained bits. When pitch accumulates behind and in your cutting edge’s front — you reduce the clearance angle and the chip ejection.
You do not want to push your router bit too hard since this causes deterioration. Thus, cleaning it efficiently is the solution.

![How To Sharpen a Table Saw Blade? [Step By Step Guideline]](https://woodworkingarena.com/wp-content/uploads/2021/03/How-To-Sharpen-a-Table-Saw-Blade.jpg)